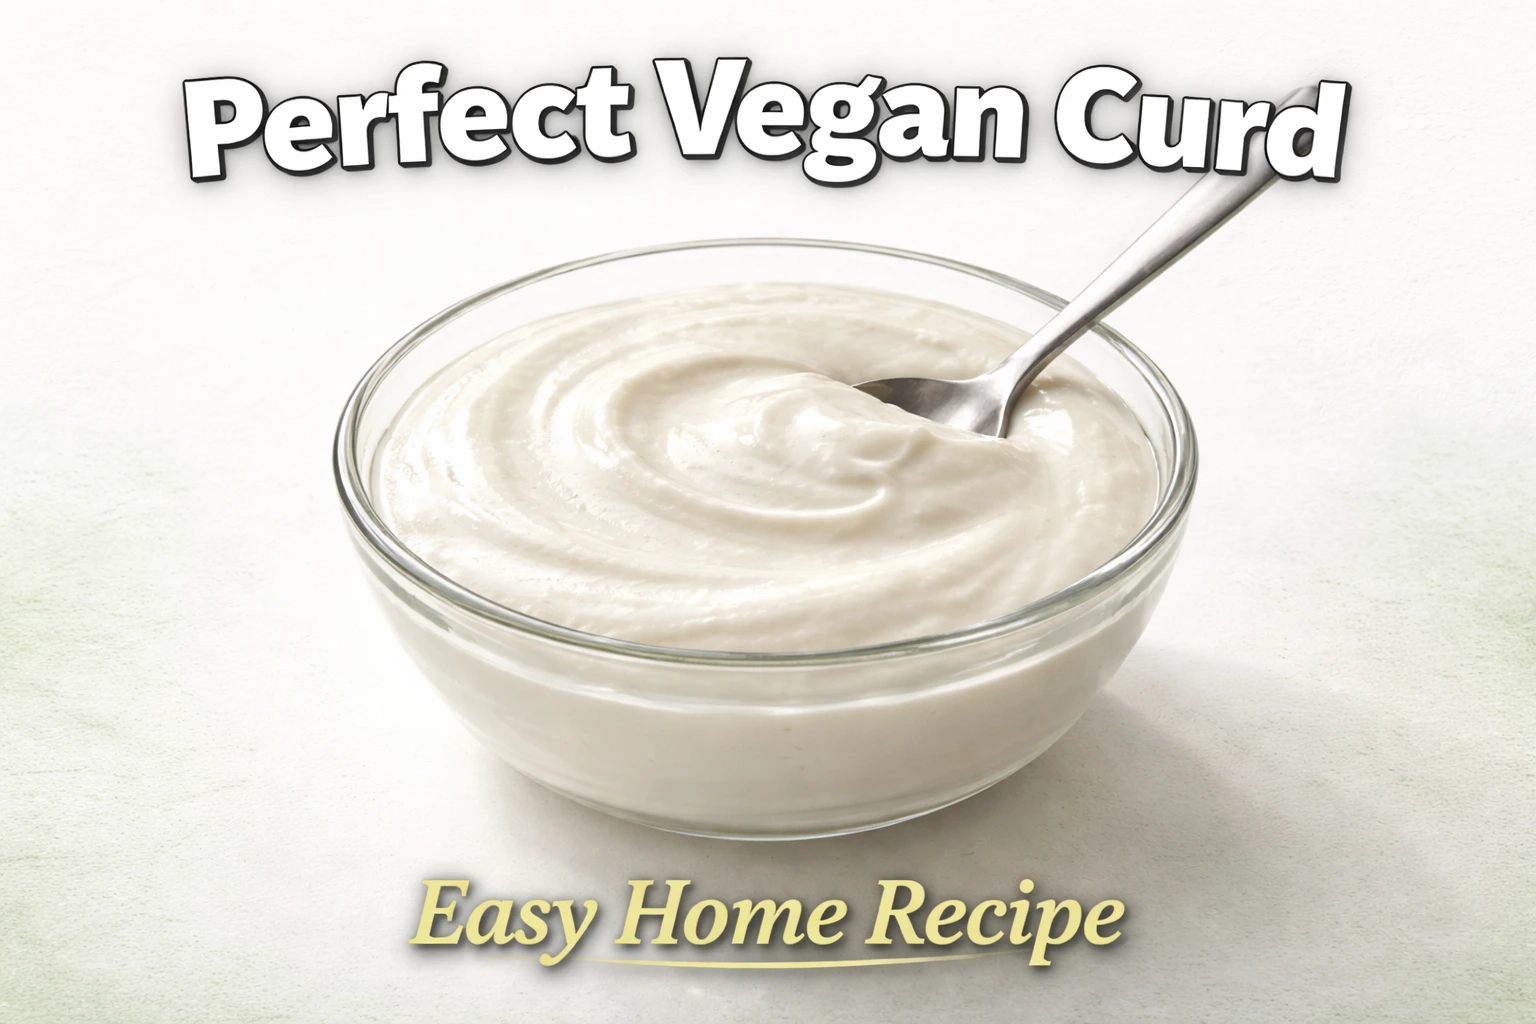
What is Vegan Curd?
Vegan curd, also known as vegan dahi or plant-based curd, is a dairy-free alternative to traditional yogurt made using non-dairy milk such as soy, coconut, or almond milk. It’s cultured with vegan probiotics or a vegan starter culture to achieve that familiar tangy flavor and creamy texture.
Unlike dairy curd, vegan dahi is 100% lactose-free, cholesterol-free, and rich in plant-based nutrients.
Introduction
Making vegan curd at home is easier than you think. Whether you follow a plant-based lifestyle or are lactose intolerant, this creamy and tangy vegan curd is the perfect alternative to dairy yogurt. In this guide, you’ll learn exactly how to make vegan curd at home using natural ingredients, simple steps, and a foolproof setting method that actually works.
If you’re ready to enjoy a bowl of thick, probiotic-rich, and completely dairy-free curd, this recipe is for you. Explore more vegan recipes and plant-based living tips at Veggora.com.
The type of plant milk you use makes a big difference to how your curd sets and tastes. If you’re not sure which plant milk is right for you, our complete guide to vegan milk alternatives covers all the options.
Types of Vegan Curd You Can Make at Home
- Coconut curd (thick & creamy)
- Peanut curd (best in India)
- Soy curd (closest to dairy)
- Almond curd (light texture)
Benefits of Dairy-Free Curd
Here’s why adding vegan yogurt to your diet can make a big difference:
- Lactose-free: Perfect for those with lactose intolerance or dairy allergies.
- Rich in probiotics: Supports gut health and improves digestion.
- Plant-based nutrition: Made from nuts or soy, providing good fats and proteins.
- Heart-friendly: Contains zero cholesterol.
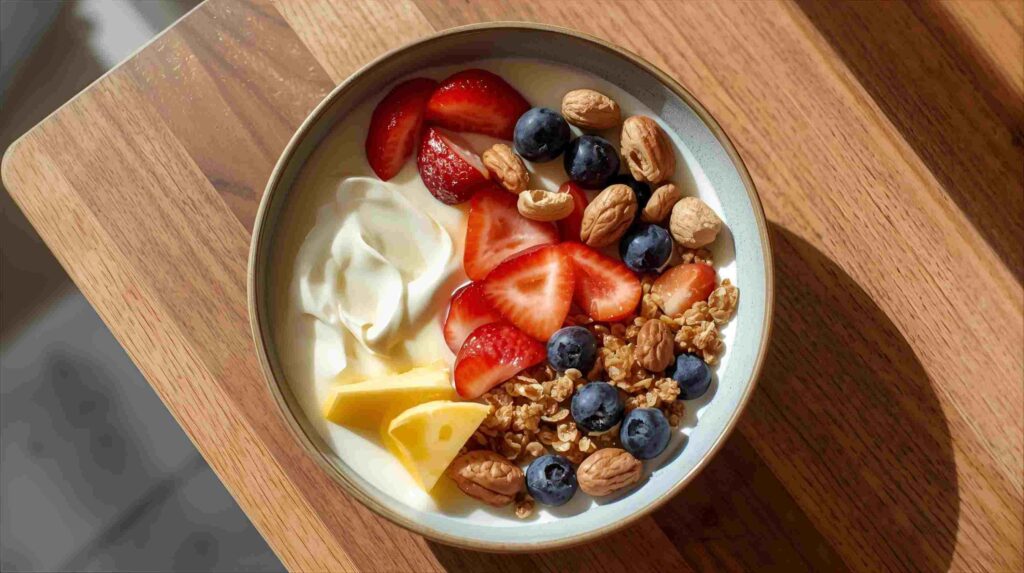
- Versatile use: Ideal for smoothies, curries, marinades, or raita.
If you’ve ever wondered whether dairy-free yogurt offers the same benefits as traditional curd, the answer is yes, and in many ways, it’s even better for your health. According to Harvard Health, probiotics help maintain balance in your digestive system
Ingredients You’ll Need
To make vegan curd at home, you’ll need:
Ingredient | Quantity | Purpose |
Plant-based milk (soy, almond, or coconut milk) | 2 cups | Base ingredient |
Vegan probiotic capsule or vegan starter culture | 1 capsule or 1 tbsp | For fermentation |
Thickener (optional – agar agar or cornstarch) | ½ tsp | To improve texture |
Sugar (optional) | ½ tsp | Helps fermentation |
Clean glass container | 1 | For setting curd |
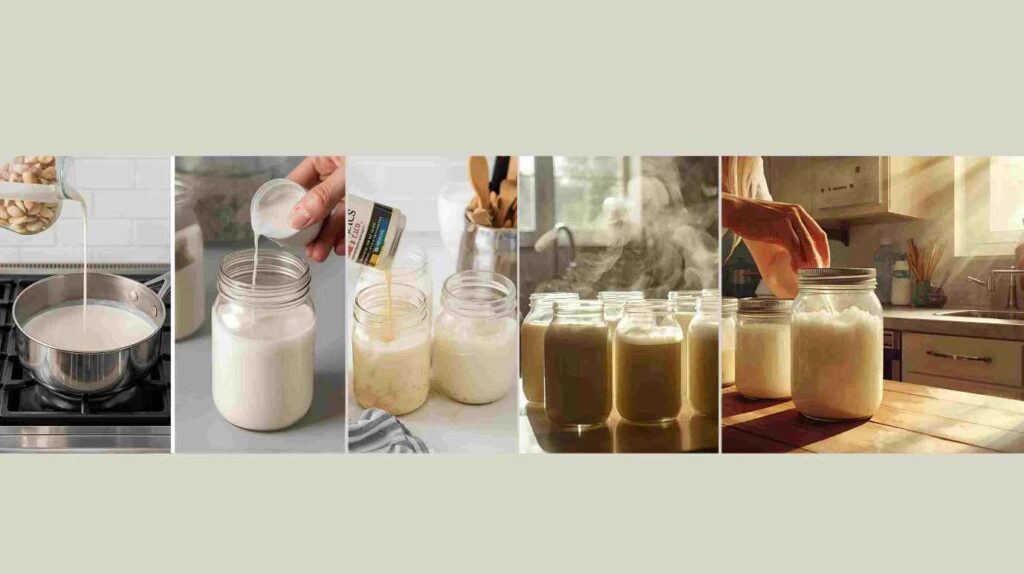
Step-by-Step Recipe: How to Make Vegan Curd at Home
This vegan yogurt recipe takes just 10 minutes of prep and 8 hours of fermentation for a creamy, dairy-free result
Step 1: Choose Your Base Milk
Pick your preferred milk type: soy milk, coconut milk, or almond milk. Make sure it’s unsweetened and preservative-free for best results.
Step 2: Warm the Milk
Heat the milk until it’s just warm (around 40°C). Don’t boil it. This temperature helps the probiotic bacteria activate.
Step 3: Add Vegan Probiotics or Starter
Open your vegan probiotic capsule or add 1 tablespoon of vegan yogurt from a previous batch. Stir gently to mix.
Step 4: Set the Curd
Pour the mixture into a clean glass or ceramic bowl. Cover it and keep it in a warm place (like an oven with the light on) for 8–10 hours.
Step 5: Chill and Store
Once set, refrigerate for at least 2 hours before using. The curd will thicken and develop that perfect tangy taste.
That’s it! Your homemade vegan curd is ready to enjoy.
Tips for Perfect Vegan Curd Setting
- Always use warm milk, not hot.
- The starter culture must be active—check the expiry date.
- If it’s cold outside, wrap the bowl in a towel for insulation.
- Add a small pinch of agar agar for a thicker curd.
- Avoid using ultra-pasteurized or flavored milk.
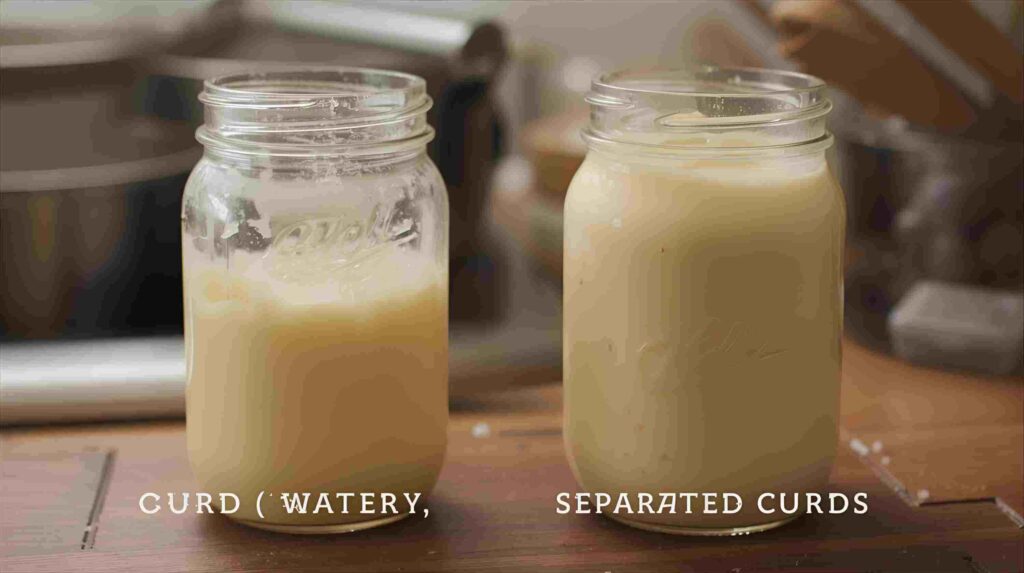
Common Myths and Mistakes
Myth 1: Dairy-free curd doesn’t set properly.
Truth: It does! You just need the right milk and starter culture.
Myth 2: Only soy milk works for curd.
Truth: Almond, coconut, and oat milk work just as well with some adjustments.
Mistakes to Avoid
- Overheating the milk: This kills probiotic bacteria.
- Skipping starter culture: Without it, fermentation won’t occur.
- Contaminated utensils: Always use sterilized equipment.
- Impatience: Don’t move or stir while it’s setting.
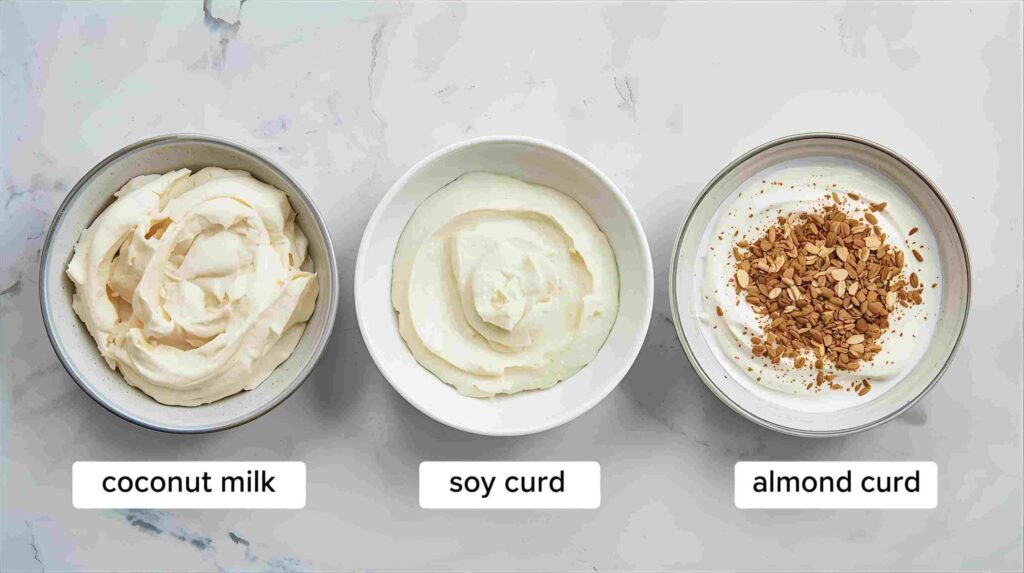
Types of Vegan Curd You Can Make at Home
These are a few types of dairy-free curd you can make at home.
1. Almond Milk Curd
A light, nutty, and mildly sweet curd — great for desserts and smoothies.
2. Coconut Milk Curd
Rich and creamy with a tropical flavor. Perfect for curries and sauces.
3. Soy Milk Curd
Protein-packed and closest in texture to dairy curd. Ideal for daily use and raita.
You can experiment with cashew or oat milk too, for unique textures and tastes.
Vegan Curd for Cooking & Raita
Vegan yogurt can be used exactly like dairy curd:
- Mix it with cucumber, salt, and cumin for vegan curd raita.
- Blend it into smoothies or shakes.
- Use it in gravies, kadhi, or marinades for tofu.
- Add a spoonful to parathas or pulao for a balanced meal.
Best Vegan Curd Brands in India
If you’d prefer ready-made options, several lactose-free curd brands in India offer great alternatives:
Here are some popular options:
- Vezlay Vegan Curd—rich texture, great for cooking.
- Goodmylk Plant-Based Curd—soy-based, probiotic-rich.
- Live Yum Vegan Yogurt – coconut milk-based, flavorful.
- Vegan Dukan – offers multiple vegan curd options and probiotic starters.
You can easily buy vegan dahi online at trusted stores like Vegandukan.com, Amazon, or BigBasket, by searching “vegan curd near me.”
How to Buy Vegan Curd Online
When buying vegan dahi online, look for:
- Active probiotics are listed on the label.
- No added sugar or preservatives.
- Ingredients: Ensure it’s free from casein and lactose.
- Storage instructions for freshness.
Conclusion: Start Your Vegan Journey Today!
Now you know exactly how to make vegan curd at home—simple, healthy, and delicious. Whether you prefer almond, coconut, or soy milk, this recipe guarantees the perfect texture every time.
Do you want ready-made vegan curd or probiotic-rich plant foods? Shop vegan protein foods on VegGora.
✅ Need plant-based milk to make your vegan curd? Shop dairy alternatives on Veggora including vegan milk, butter, and cheese.
Disclaimer:
This content is for educational purposes only and is not intended as medical advice. Always consult a nutritionist before making major dietary changes.